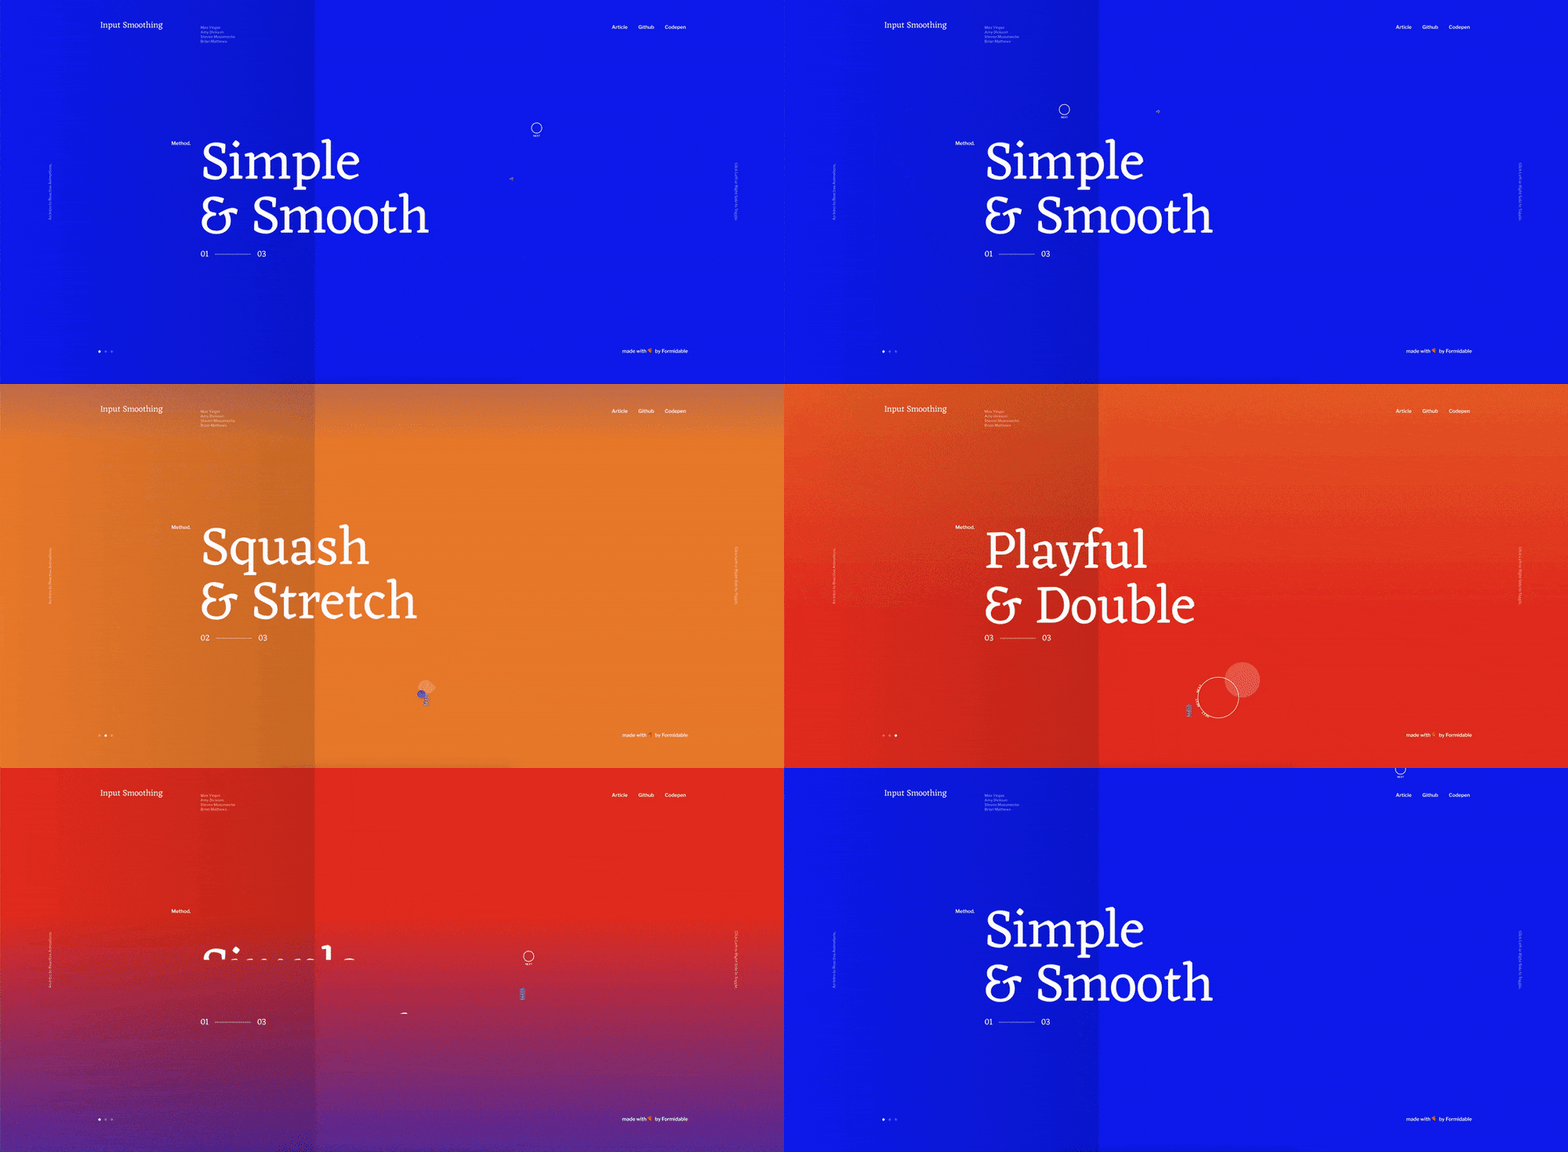
Today we’re going to explore the concept of input smoothing as an introduction to reactive animations. So what exactly do I mean by reactive animations? For this article, we’ll use the term to describe animations that have no set endpoint, but instead react to a steady stream of incoming values.
I find these animations particularly useful for components that require an animation layer on top of an interaction like dragging, scrolling, mousemove, and swiping. Specifically, in this article, we’ll focus on mousemove and those little circles you’ve seen following the cursor in certain eye-catching interactive sites like the ones seen below:
So I’m certainly not a die-hard when it comes to functional programming, but I do think some concepts from it can be quite useful in certain places. In this tutorial we’ll make heavy use of factory functions to create an rx-like pattern. We may even dabble in some currying here and there as well.
If you’re not familiar with these concepts, MPJ of Fun Fun Function has a wonderful series on functional programming in JavaScript here, specifically talking about factory functions and currying.
The End Result
By the end of this article we’ll have a nice little circle smoothly following your cursor used like the example seen below:
If you’re familiar with popmotion, you’ll notice the api for our smooth() is quite similar. Matt Perry, the creator of popmotion, has some excellent blog posts and musings on animations as well at https://inventingwithmonster.io/
Overview
To create this smooth object we’re going to need three parts:
The Request Animation Frame Loop — This loop will call some logic on every frame.
The Scan — This object will scan over a series of values and save some information between iterations. We’ll also expose a next() method here that we can use to schedule the next iteration.
The Lerp — This will be the function we’ll pass into our scanner to compute the next step on every iteration.
The Request Animation Frame Loop
requestAnimationFrame(), commonly abbreviated to rAF, is the native method our browser provides to us to execute some logic when the next frame is rendered. We’re going to create an object that recursively calls this and executes some listener on every frame.
To start I always like to think about what methods we’ll need, then the necessary state we’ll need to store between those methods. First off, our rAF() implementation will need a start() method that allows us to add a listener and start listening on every iteration of the loop:
Next let’s create the loop() method for internal use. This will be our point of recursion. To keep this method’s definition clean, let’s store our listener. I like to store necessary data, inside the closure, in a state object to make it clear where everything lives, so let’s do that!
constrAF=()=>{const state ={listener:()=>{}};constloop=timeStamp=>{ state.listener(timeStamp);requestAnimationFrame(timeStamp=>{loop(timeStamp)});};conststart=listener=>{ state.listener= listener;loop(performance.now());}return{ start
}}
js
As you can see, our loop function calls our listener, then requests itself to be called again on the next animation frame. For now we’re passing our listener a timeStamp value. This isn’t relevant to this tutorial as we’re just going to be using rAF() as a scheduler, but will be useful when we get into other methods like physics or tweens in other blog posts.
The only issue with our current implementation is that we have no method to stop this loop once it has started. If we subscribe to rAF() with a component on mount, when the component unmounts, this loop will still be running. Let’s fix that by having start() return a stop() method:
As you can see, requestAnimationFrame() leaves us with a frame id we can keep track of between calls. To escape the loop, we simply cancel the call to the next animation frame.
Now that we have a nice way to listen to the frames, let’s create our logic needed to execute on each frame.
The Scan
If you’re familiar with rxjs, you’ll most likely be familiar with the scan operator, but for those of us new to it, it simply allows us to scan over a series of incoming values and track some data between each new value.
Our implementation of scan() will also expose a next() method which will tell our scan when to take the next incoming value. Let’s take a look at what our final result will look like here:
Now that you’ve gotten a second to digest what our scan() method does, let’s implement it! First we know that we need to provide a reducer and an initial value to scan(), so let’s set that up:
constscan=(reducer, init)=>{const state ={accumulator: init,reducer: reducer
};}
js
Next, we need to provide a start method that allows us to add a listener to when the accumulator calculates its next iteration:
constscan=(reducer, init)=>{const state ={accumulator: init,reducer: reducer,listener:()=>{}};conststart=listener=>{ state.listener= listener;};return{ start };}
js
Now that we have a way to listen to each iteration, we need a way to signal the next iteration; let’s add that with a next() method returned by start():
constscan=(reducer, init)=>{const state ={accumulator: init,reducer: reducer,listener:()=>{}};constnext=v=>{ state.accumulator= state.reducer(state.accumulator, v); state.listener(state.accumulator);};conststart=listener=>{ state.listener= listener;return{ next };};return{ start };}
js
Now that we have a fully functioning scan() & rAF(), we can certainly animate, can’t we? Well yes, we can! What we have so far is the basic building blocks of animation!
However, we want these animations to be beautiful. To evoke the feeling of cutting butter with a hot knife, just like Neil Young’s voice after drinking a glass of wine; using a simple reducer here my friends, is certainly not that 😬:
But not to fear, we’ve done the heavy lifting. Let’s create the last piece of the puzzle and wire this smooth cursor up.
The Lerp
So the last dependency of our smooth() object is the lerp. This stands for Linear Interpolation, which does nothing more than given a start, end, and percent, calculates what point we’re at. Here’s a simple example for reference:
// progress is a value between [0-1] // lerp(start, end, progress) lerp(0,2,0.5)// result: 1lerp(1,3,0.5)// result: 2lerp(0,4,0.75)// result: 3
js
Traditionally we can use this to calculate the progress between two values where the start and end are fixed, and the progress changes from 0-1. However, for this tutorial we’re going to use this function similar to how it’s used in the context of noise smoothing.
In this application, start and end will be changing & progress will be constant. The Coding Train has an awesome breakdown of using p5.js‘s lerp() to smooth out a series of input values that contain noise here.
Although the implementation of lerp in this context is the same as the traditional context, it helps to think about our inputs to the lerp() function differently. In this context, we’ll use it a little more like this:
// roundness is a value between [0-1] // lerp(accumulator, target, roundness)let accumulator =0;let target =10;const roundness =0.5;accumulator =lerp(accumulator, target, roundness)// 5accumulator =lerp(accumulator, target, roundness)// 7.5accumulator =lerp(accumulator, target, roundness)// 8.75...
js
In this implementation, roundness describes how closely the accumulator follows its input source. As the roundness approaches 1, the accumulator will have no smoothing and follow the input source exactly. As roundness gets closer to 0, the accumulator will take more and more lerp iterations to reach the target. The curve will become more and more exaggerated, hence naming this input roundness.
Now that we have a high-level overview, let’s implement our lerp():
Woof, that was simple. The last thing we have to do is expose a method that stops the infinite animation loop. This should be a pretty easy add-in as well:
If you’ve made it this far, awesome work following the tutorial all the way through. I hope you picked up some new tricks and learned some fundamentals along the way.
If you’re looking for further exploration, dive into the demo code and consider implementing a value() object to keep track of things like velocity or direction between updates. This can add some extra flare to your custom cursor.
Make sure to keep exploring and playing with it. Feel free to make it your own and break whatever rules you want. Always remember, if it looks good, it is good. 🤘