An opinionated guide to software engineering principles and practices for mobile appsAnopinionatedguidetosoftwareengineeringprinciplesandpracticesformobileappsAnopinionatedguidetosoftwareengineeringprinciplesandpracticesformobileapps
Andrea Pacino, Sherrylene Gauci
19 Jun 2025
Share
Tried and tested; occasionally broken: a developer and test engineer share what actually worked for them in mobile development
As a software engineer and test engineer born in the late 80s and early 90s, we have seen software engineering evolve a lot. From the rise of continuous code integration (CI) and the adoption of automated testing to the growing popularity of microservices architecture, we've witnessed significant shifts in how software is built and delivered.
In this blog, we are blending a bit of nostalgia with our perspective on some familiar software engineering principles and practices that have shaped our careers. We will also dive into the development and testing approaches that have worked well for us in the mobile apps space, over the past two and a half years.
Note: Some sections were written exclusively by Andrea or Sherrylene. Where this is the case, we've added the author's name beneath the section heading.
You ain’t gonna need it (YAGNI)
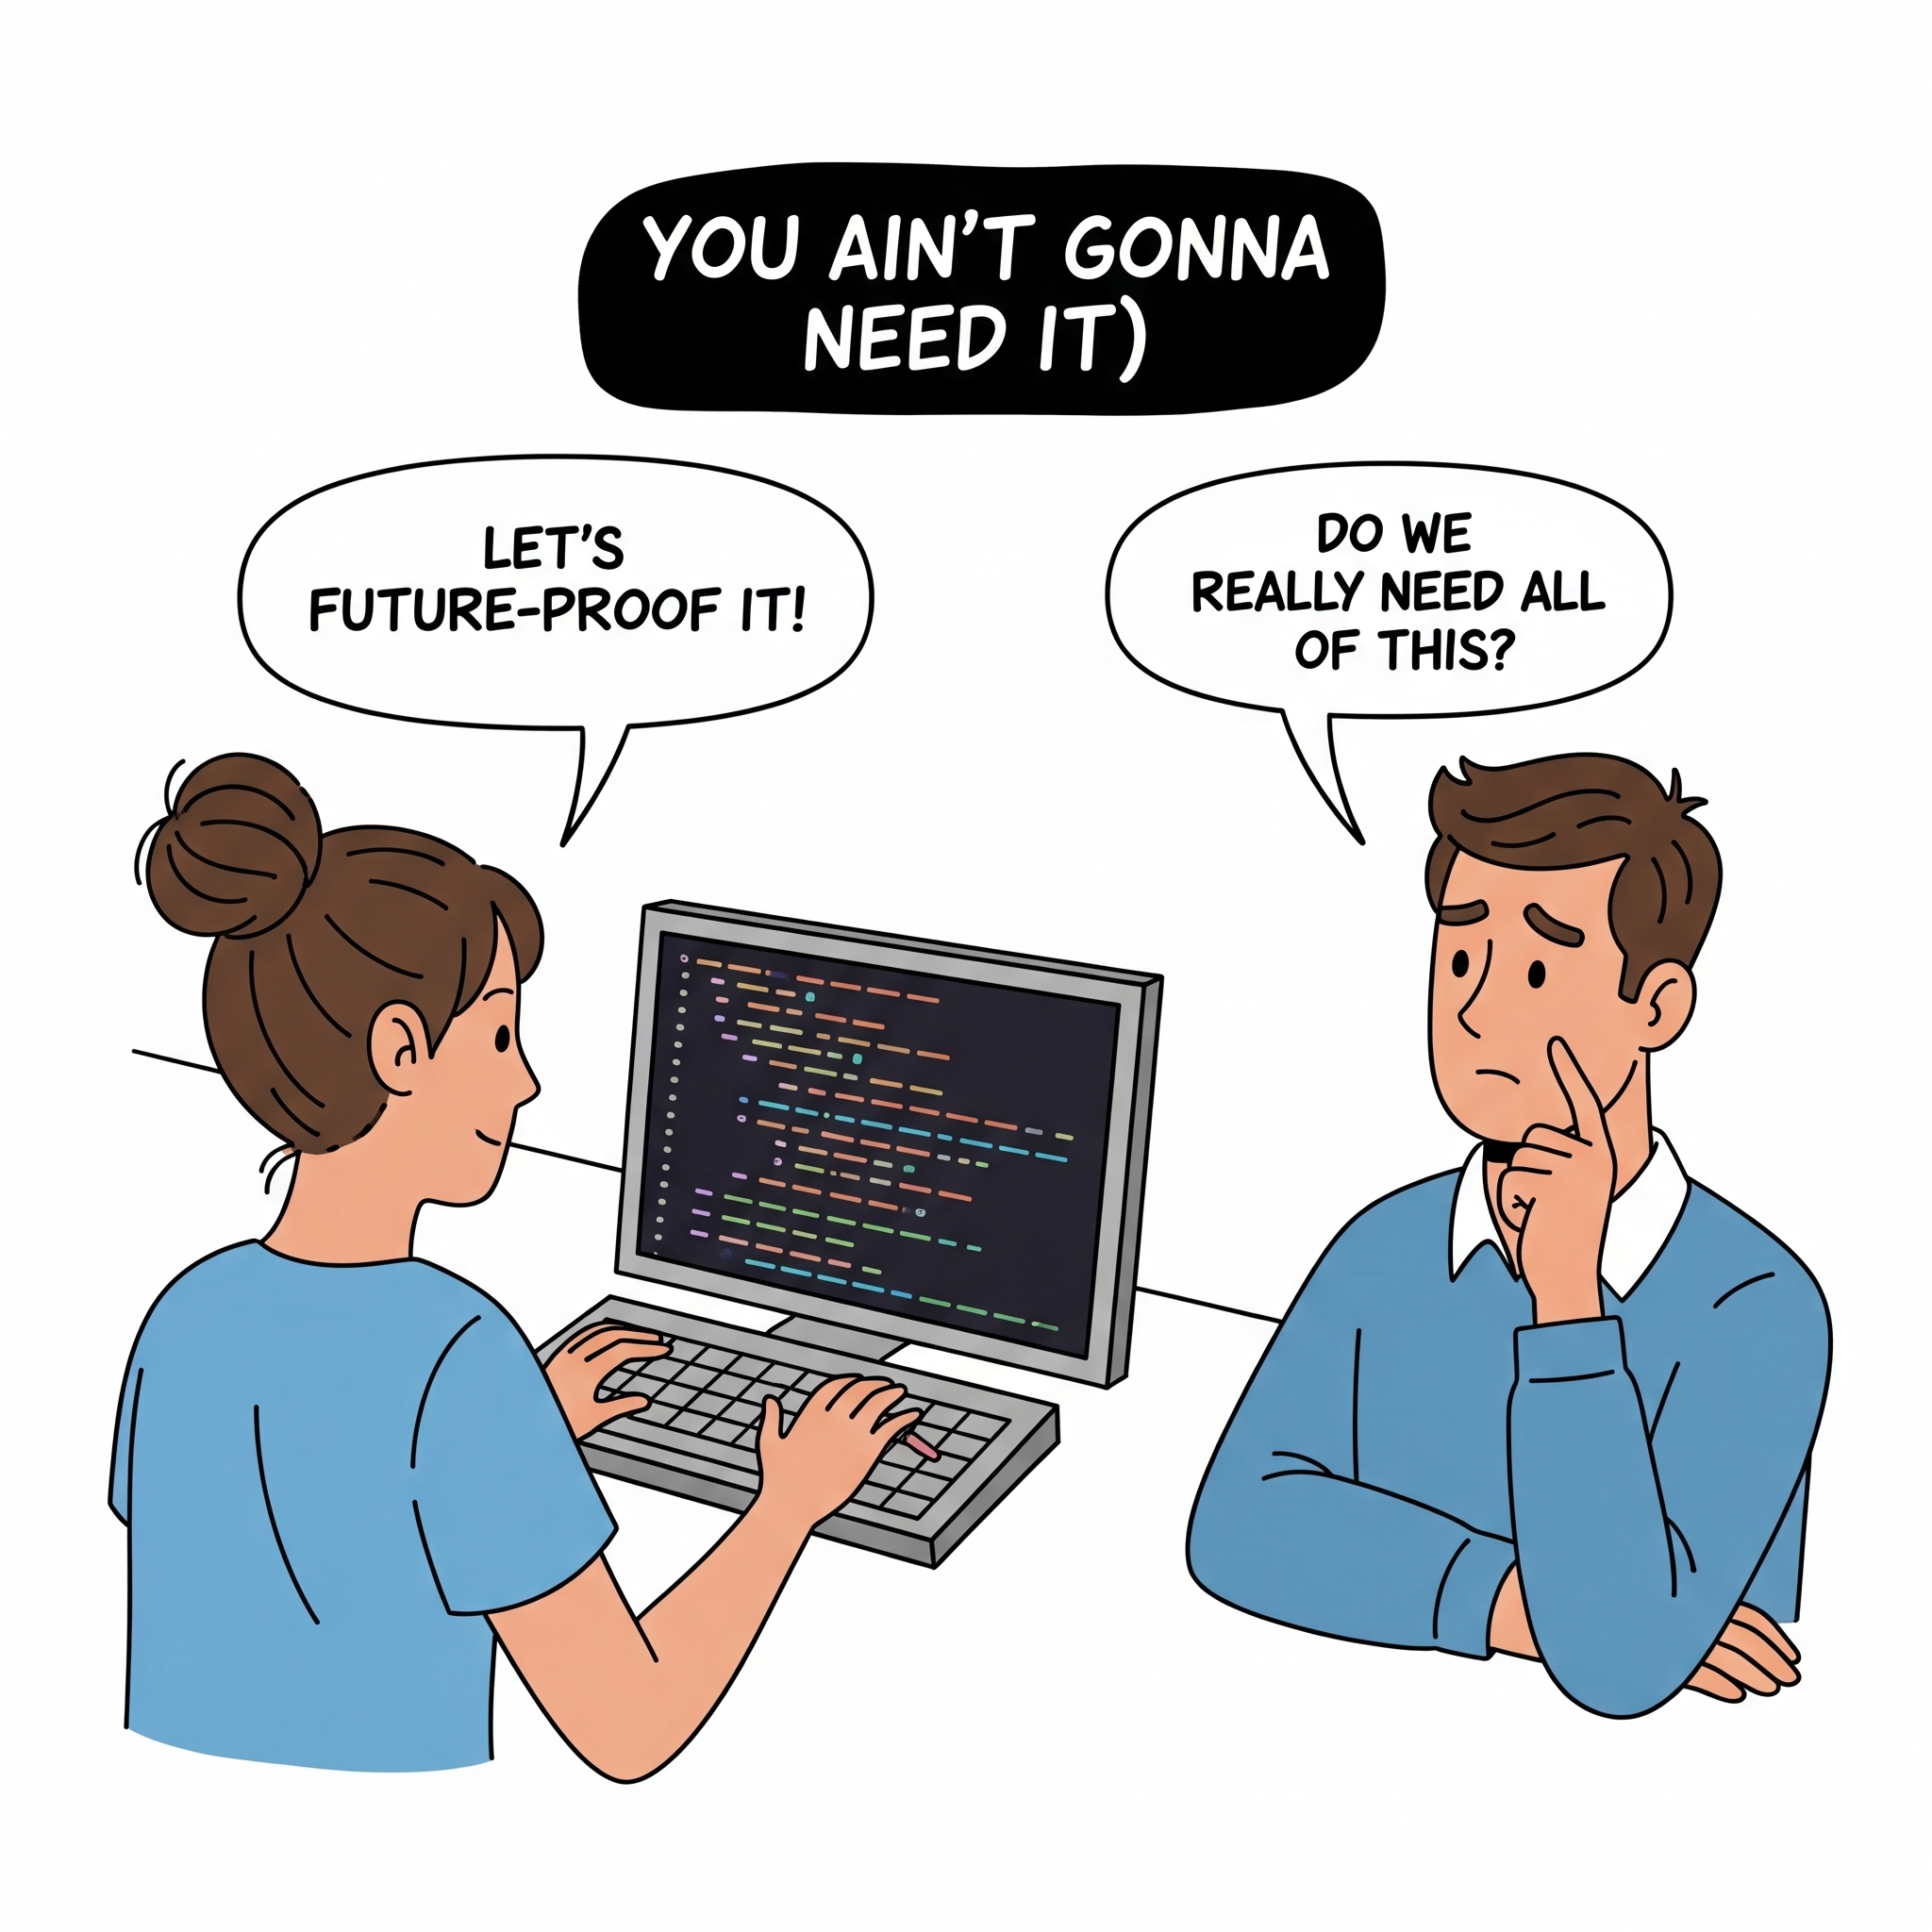
YAGNI was introduced in the Extreme Programming (XP) methodology by Kent Beck in the late 1990s. As an engineering principle, it focuses on solving immediate problems which enable teams to deliver quickly. Additionally, it tries to steer teams away from the trap of “what if?” user scenarios, which can potentially lead to over-engineering. However, this is a theoretical explanation. How does YAGNI apply to real-world scenarios?
On software projects, the key to YAGNI is asking the right questions while going through user requirements. It is important for developers and quality assurance testers (QAs) to ask questions such as:
Why is a feature needed?
What problem is the feature trying to solve?
How does it improve the end user experience?
How do we measure that a feature has been successful?
The above will help the team determine the scope of how “flexible” and “future-proof” a feature needs to be.
Credit: This image was created using ChatGPT (OpenAI)
One example of YAGNI going wrong is when implementing features without upfront user research or analysis of existing user data. In this scenario, the development team tries to build a catch-all feature which addresses various use cases and does not necessarily have a backup plan, such as running user experiments. It is only over time in production, when user feedback and more data are collected, that the team discover it had little impact; after which they would go down the path of reworking the code.
In our early careers of coding, it was easy to make the mistake of optimising prematurely, mostly due to a lack of experience. Over time, we have both developed a better "Spidey sense" for when optimisation is truly needed versus when it’s just a distraction.
Keep it simple, stupid (KISS)
KISS is a software design principle which states that the systems we build and the code we write should be as simple as possible.
There is value in code being easily understandable for everyone, and it is safe to assume that other people will read or change the same lines of code that you are writing at present. Their skill level or personal experience might mean that they will find it challenging to understand your implementation which, to you, seems perfectly straightforward.
Why is the KISS principle important?
Simple code is better for readability and is easier to understand. It can help identify and fix bugs quickly.
KISS is also applicable when choosing the right naming conventions. You could find yourself writing functions or variable names that are too generic. While this is fine when you are coding independently, it will become a huge bottleneck every time your colleagues need to update or fix that specific piece of code — especially with a vague and confusing function name.
Breaking down a function into smaller chunks with a single purpose and with a unique name (that is self-explanatory) is always best practice. Smaller chunks also mean smaller functions to test, which improves the testability of your codebase.
In the “Before” example, you can see that if there is a bug somewhere in the function, you may spend more time trying to figure out what the problem is. More importantly, there is no easy way to test the different parts of the function in isolation.
However, in the “After” example, the function contains code that is well defined and has its own purpose, hence it will be easier to debug and test.
This is the general guideline that we follow, given the size of our team — functions should be “bite-sized” and clearly named.
Don’t repeat yourself (DRY)
The DRY principle aims to minimise the amount of duplication in codebases which makes it easier to maintain. DRY encourages us to create single, reusable components or functions for logic that is shared. Code changes are made easy by updating one location in the codebase.
Some time ago, on our project, we encountered a specific challenge with using DRY. Our app's architecture consisted of 20+ micro-frontends, with two core libraries shared amongst different teams.
Over time, we discovered the pains of dependency management whilst managing these shared libraries, and we were also duplicating setup code when we needed to create a new micro-frontend. Once we tried deploying the apps to production, it required additional efforts to ensure that everything worked seamlessly.
One of the major risks was upgrading the apps to use a newer version of a shared library, which was likely to contain breaking changes. Our teams would have to go back and look for a fix while the deployment was blocked.
To address these difficulties, last year we moved on to a monorepo apps architecture, which has proven to align better with our needs and has given the app teams more independence.
Although the codebase has been separated, we still use some form of DRY, but in a way that is more practical for us. We have created smaller shared libraries that handle cross-app functionality such as authentication, components and analytics.
As long as our software stays in a releasable state, it’s safe to say that we have achieved the right balance of DRY.
SOLID
The SOLID principles were introduced by Robert C. Martin in his 2000 paper ‘Design Principles and Design Patterns’. These concepts were later built upon by Michael Feathers, who introduced us to the SOLID acronym. Martin’s and Feathers’ design principles encourage us to create more maintainable, understandable and flexible software. The following five concepts make up the SOLID principles:
Single responsibility
Open/closed
Liskov substitution
Interface segregation
Dependency inversion
Single responsibility
This principle states that a class should only have one responsibility. Furthermore, it should only have one reason to change.
Open/closed
Classes should be open for extension but closed for modification. In doing so, we stop ourselves from modifying existing code and causing potential new bugs.
Liskov substitution
If class A is a subtype of class B, we should be able to replace B with A without disrupting the behaviour of our program.
Interface segregation
It simply means that larger interfaces should be split into smaller ones. By doing so, we can ensure that implementing classes only need to be concerned about the methods that are of interest to them.
Dependency inversion
The principle of dependency inversion refers to the decoupling of software modules. This way, instead of high-level modules depending on low-level modules, both will depend on abstractions.
In a component-based mobile apps architecture, like React Native, it’s pretty common to apply most of the principles without knowing or understanding the underlying principles.
Single responsibility
To stick to the “single responsibility”, we need to make sure that each component in our application has a specific purpose. A component could be responsible for displaying some elements, making API calls to fetch data or handling inputs. When we take this approach, we are improving the maintainability of our code base. For example:
The above shows a component with multiple purposes: Fetching the API and displaying elements.
With modern libraries, such as swr or react-query, we can reduce the responsibilities of a component by lifting the burden of handling the logic of the API call and focusing only on displaying elements.
Open/closed
A child component that allows a parent component to manipulate the output by applying changes to the props, rather than editing the implementation of the child component. A common pattern is to expose a style prop to allow a parent to override the styles of the child.
Liskov substitution
This principle applies when we are attempting to replace a parent component while still doing the same thing as a child component. One of the most common examples is when you create a custom button component:
constMySpecificButton=({ onPress, title ...props})=>{return(<TouchableOpacityonPress={onPress}style={styles.mySpecificButton}{...props}><Textstyle={styles.text}>{title}</Text></TouchableOpacity>)}
jsx
This allows you to create a component with specific button superset behaviours that inherit all of the button’s attributes and pass them to the child component, so that it doesn’t change the programme’s behaviour.
Interface segregation
To be compliant with this principle you will need to create functions and components and limit the number of props to the bare minimum, keeping only the necessary ones.
For example, a non-compliant ISP component would look like the following:
In this case, only the necessary props are passed down to the component.
Dependency inversion
With the introduction of the Context API and hooks in React, dependency injection can now be achieved by using custom hooks. This allows components to access the dependencies they need without having to know the underlying implementation details.
Behaviour-driven development (BDD)
Insights from Sher
BDD was introduced by Daniel Terhorst-North as part of agile practices back in the early 2000s, The goal was to bridge the communication gap between technical and non-technical people. It enables developers, test engineers and product owners alike to contribute to feature requirements. Although BDD can help teams scale their test automation because of its pseudocode capabilities, it also has some downsides.
In practice, test scenarios could quickly become verbose, and the focus of the tests is shifted to the nuances of the grammar rather than the functionality under test.
I learned that end-to-end (E2E) test scalability is an important consideration when working with distributed architectures such as micro-frontends. At one point in time, the QA team needed to reuse some login test steps to use them as a foundation when building new tests across codebases. In this instance, we wanted to avoid duplicating test code.
To address this, we packaged our login test steps as part of our core library, and added them as a dependency in the codebases that needed them. It worked very well overall and saved us a lot of time; the only minor inconvenience when using this approach was to make sure that test steps inside the individual repositories did not clash with the shared login steps, as that caused our BDD test framework to skip tests when they were run.
Personally, I have always been a fan of lightweight, easy-to-use BDD test frameworks. Cucumber has been a staple of BDD for many years despite adding some test execution and maintenance overheads. More recent mobile test frameworks, such as Maestro, are changing it up by making test cases (referred to as “Flows”) simpler to write whilst also remaining performant.
Test-driven development (TDD)
Insights from Andrea
TDD is an engineering practice where tests are written before any new code is added. The tests describe the desired behaviour of the code and serve as a guide for its implementation.
TDD consists of six steps:
Test list: The initial step in TDD is to list all the expected variants of the new behaviour.
Write a test: Write an automated test, with setup, invocation and assertions, which will fail at first (due to the lack of implementation).
Make it pass: Write the amount of code necessary to make the test pass.
Optionally refactor: Make the proper changes, for better maintainability of the code.
Verify test: Run the full test suite to check if something new has broken the existing tests.
Repeat for remaining tests: Repeat step two until you write all the tests in your list.
TDD has several advantages, the most important of which are the ability to make the code more readable, well-documented and have comprehensive test coverage from the start. On the other hand, TDD can give a false sense of security, as the code is written to allow the tests to pass. This means that if the test list is not exhaustive enough, it will not cover all the possible scenarios.
In my opinion, TDD can’t be applied to everything and depends on several factors: the nature of the project, tight deadlines and how developers get on with the practice.
TDD best practices can be dogmatic at times — so if you are happy with a different approach, this is also okay. Whether a developer is working with TDD or not, the ultimate goal is to have a well-defined and complete test suite, one that gives them the confidence to ship quality software.
End-to-end testing (E2E)
Insights from Sher
E2E tests play an important role in validating real-world user interactions. They provide us with feedback about the behaviour of our applications and how intermediate layers of software work together.
E2E tests are placed higher up in the testing pyramid for a few reasons. They sit the farthest away from the codebase and can introduce some challenges, such as test maintenance overheads and flakiness, as well as being dependent on “production-like” test data. Additionally, E2E tests tend to take longer to run in a continuous integration pipeline and can slow down team velocity.
Ever since the QA team started writing tests for the mobile apps project (two and a half years ago at the time of writing!), we have implemented a couple of successful test solutions for the above scenarios, which I will be sharing below:
Setup a mocked dev environment
Having a dev environment which is fully managed by the team reaps good benefits because it gives QAs the flexibility to create test data on demand and set up various user scenarios. Additionally, the tests are more stable because the test environment is less prone to updates happening outside of the team’s control.
Identify and automate repetitive test steps
Repetitive test steps in E2E tests, such as logging in and logging out of an app can be replaced by quicker approaches such as utilising mobile deeplinks. Deeplinks are a navigation mechanism that allows mobile tests to navigate to specific screens within the app. This solution has helped us speed up the test execution and squashed UI-related flakiness.
Add quality gates to the pull request process
Set up a pull request process in CI/CD where E2E tests are run based on the code changed in the app source folder. This is a quality gate which encourages a healthy green pipeline before new code is merged into the main branch. It has been an effective approach for us because it has increased quality accountability within the team.
Run tests in parallel
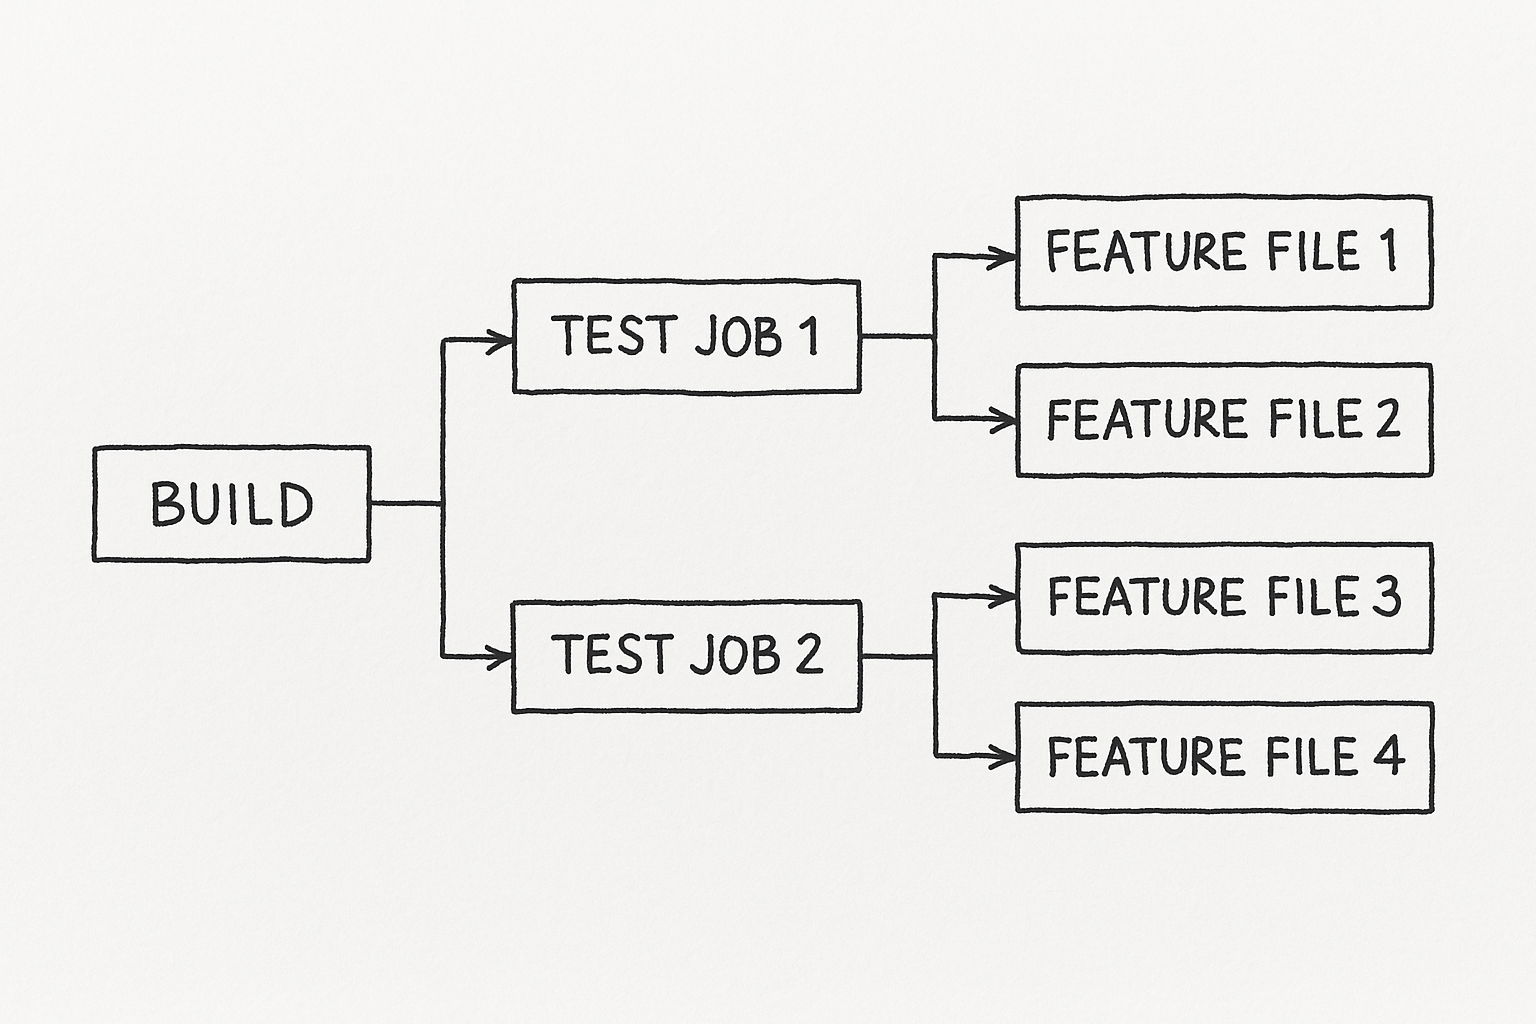
Our current test platform has a number of dedicated test runners which we could use to scale our tests and run feature files in parallel.
Credit: This image was created using ChatGPT (OpenAI)
This is a very cool feature that comes as part of the testing platform enterprise license. A lower cost alternative would be to have the test jobs running in parallel in the CI pipeline.
Tag and reuse test files
The test files are run using an environment tag — for example, @dev, @staging etc. This simplifies our process in CI, allowing us to run the same set of tests against different environments by swapping out test user accounts. This reduces test code duplication and re-enforces the DRY design principle described earlier.
Unit testing
Insights from Andrea
A unit test is a block of code that verifies the accuracy of smaller, isolated blocks of application code, typically a function or method. The purpose of unit testing is to check that a block of code runs as expected. A unit test is only capable of interacting with a block of code via inputs and assertions.
A single block of code may also have a set of unit tests, which are known as test cases. A complete set of test cases covers the full behaviour of the code block.
How can we determine whether unit tests are well written or not?
My view is that the greatest documentation of a codebase lives within the unit tests. Detailed descriptions and clear assertions will always be a strong indicator of a good, maintainable codebase. In the example tests below, we can achieve the same result but using a different test structure:
Example one:
describe(‘<ComponentName>’, () => {it('calls function X if the prop <propName> is greater than 5',()=>{// assert the number of calls, the arguments and the specific analytic event` })it('send analytics if the prop <propName> is greater than 5',()=>{// assert the arguments and the specific analytic event })})
jsx
Example two:
describe('Given a component <Component Name>',()=>{describe('when <propName> is greater than 5',()=>{it('should have called the function/method/whatever X',()=>{// assert the number of calls and the arguments})it('should have sent the analytic event',()=>{// assert the right analytic event with the expected params})})})
jsx
In example one, the test has a less descriptive name and description and could be harder to follow.
In example two, the test is more descriptive and explains better the functionality under test by dividing the unit test (propName greater than five) into test cases.
There are several advantages with this approach:
Each test case has its own beforeEach / afterEach so it can set up case-specific mocks
It creates more comprehensive unit test reports
It makes it easier to add unit tests under the right test case with all the necessary mocks already in place
Adapting fundamentals to real-world engineering
As much as the above principles and practices have guided software engineering for many years, it is important to recognise that there is no silver bullet to writing and designing elegant code.
Applying some of these software approaches at the right time is a skill in itself, which is learned over years of problem-solving on different projects and working with a variety of clients. While it is tempting to be strict with each principle, being sensible goes a long way in adapting these concepts to modern software engineering. We can respect code fundamentals whilst evolving alongside the software engineering landscape.
But wait - there's more.
Nearform publishes real-world learnings on data & AI, engineering, and digital strategy - with more merged in weekly.
Insights
Perspectives on AI in engineering, product development, and strategy, for enterprise executives.



 Credit: This image was created using ChatGPT (OpenAI)